Approach
I’ve always been fascinated by the Microdrive technology. In particular it’s the approach of using mass-produced components from other products (e.g. audio head from cassette tape decks as read/write head), to create an inexpensive solution that could -at least somewhat- compete with the much more expensive floppy disk drives common at the time. The emulator should therefore be designed in the same spirit, and use as few and cheap components as possible.
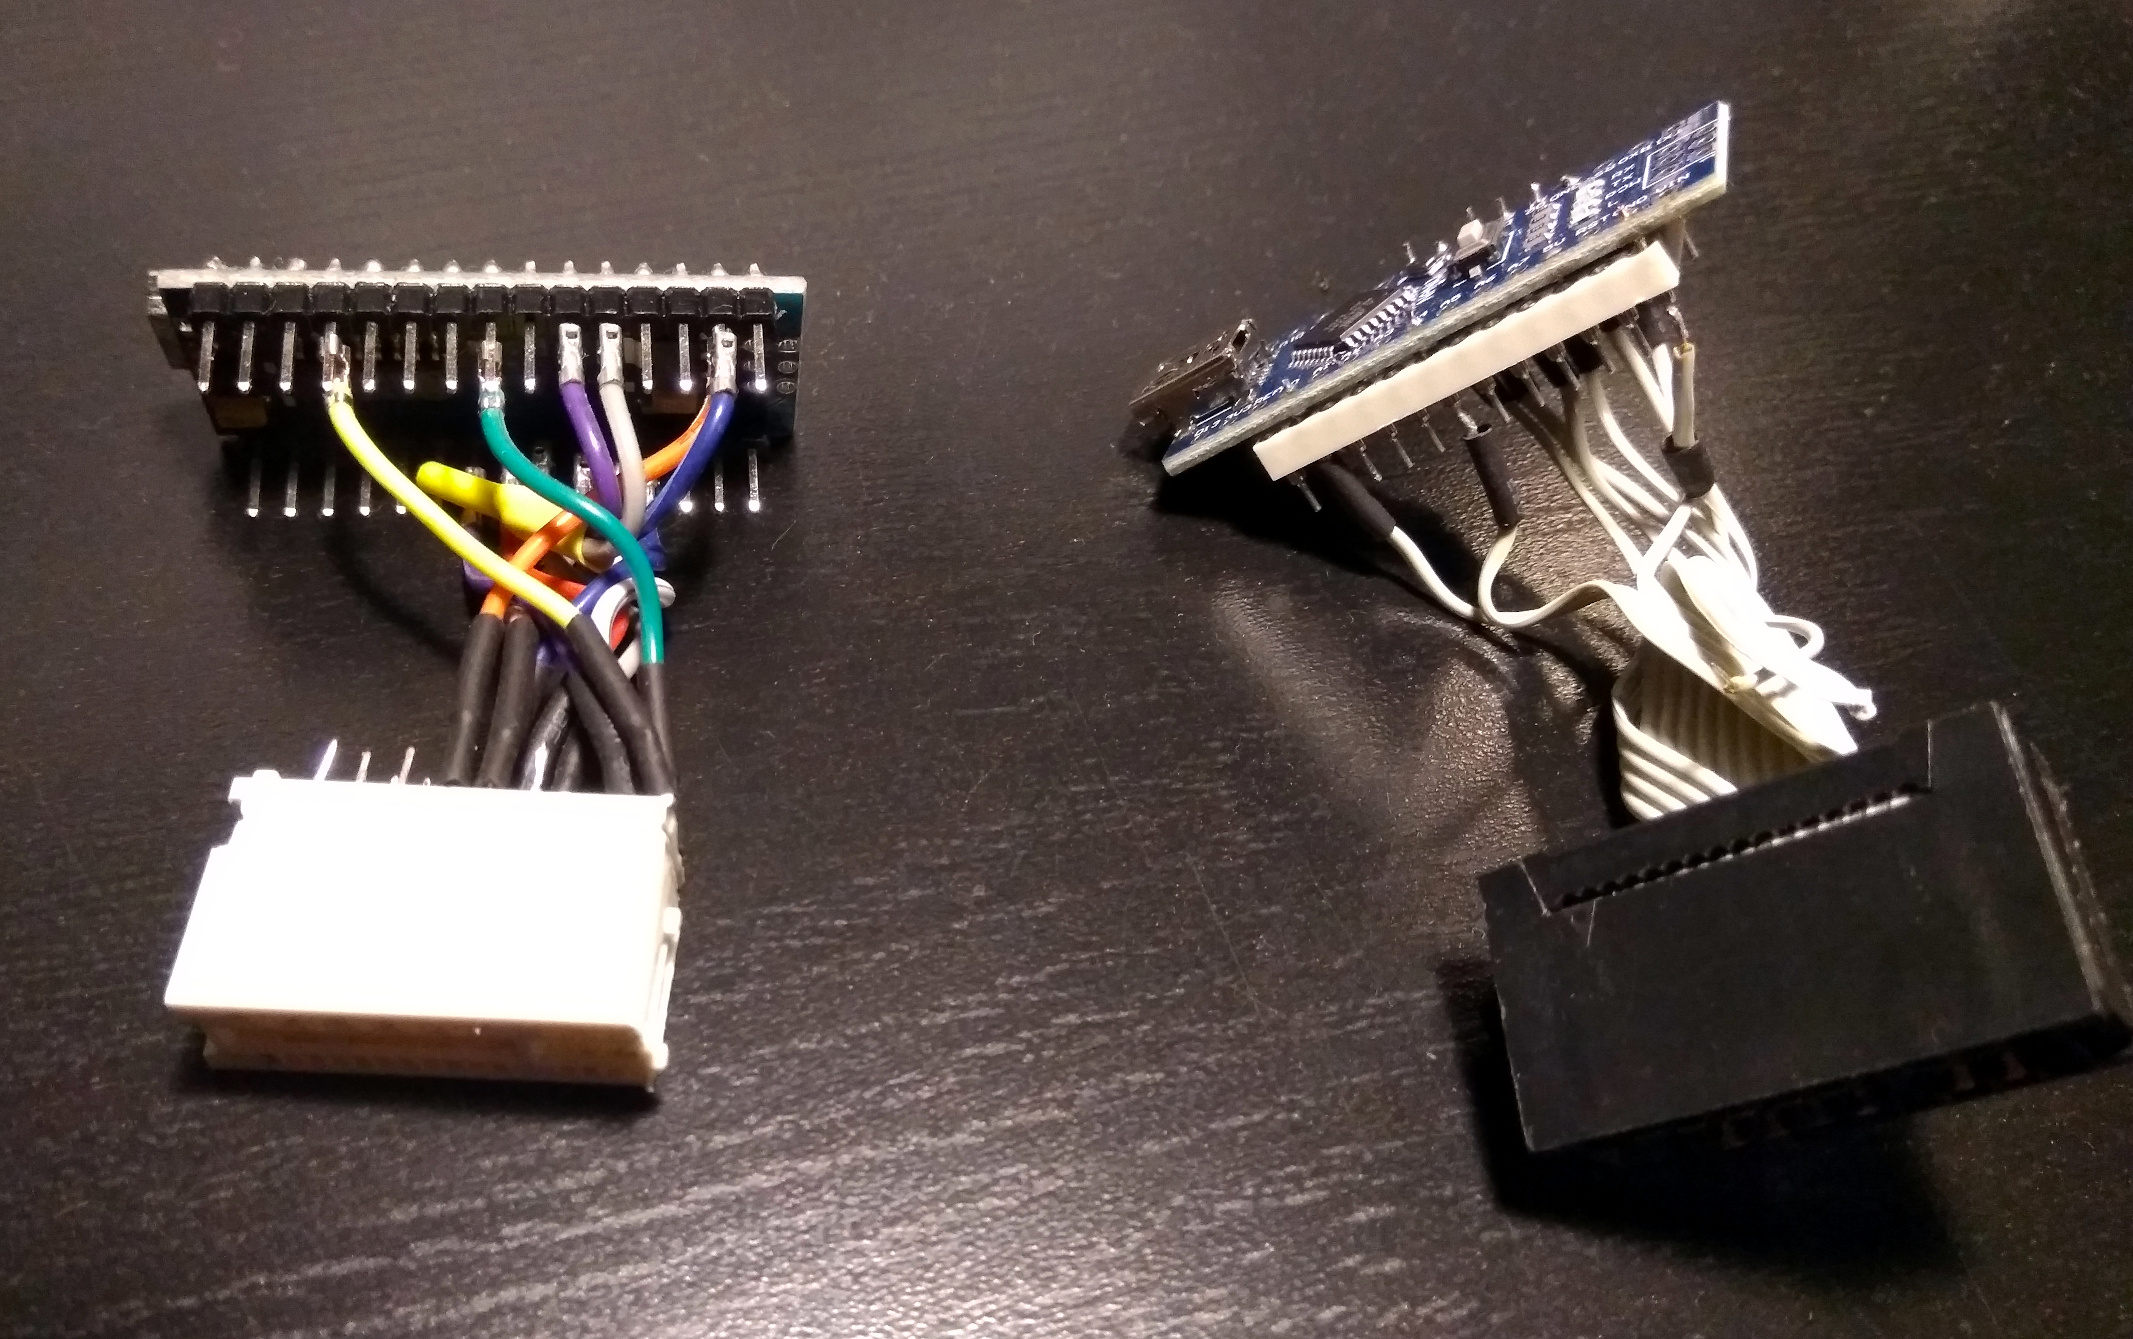
The Arduino Nano seemed to be the right choice for that. If it all possible, it should also be the only major component in the design, not counting resistors, diodes, and connectors. This design goal shaped OqtaDrive’s structure: The Arduino takes the part of a protocol converter between the Microdrive interface and a daemon process running on a host machine, that manages Microdrive data. One advantage with this is that no storage components (e.g. SD card reader) and no UI components (LCD screen, buttons) are needed, since the daemon can be easily controlled form the daemon host. Another advantage is that the daemon host will usually be connected to a network, opening up interesting opportunities for use and further development of the emulator.
Format
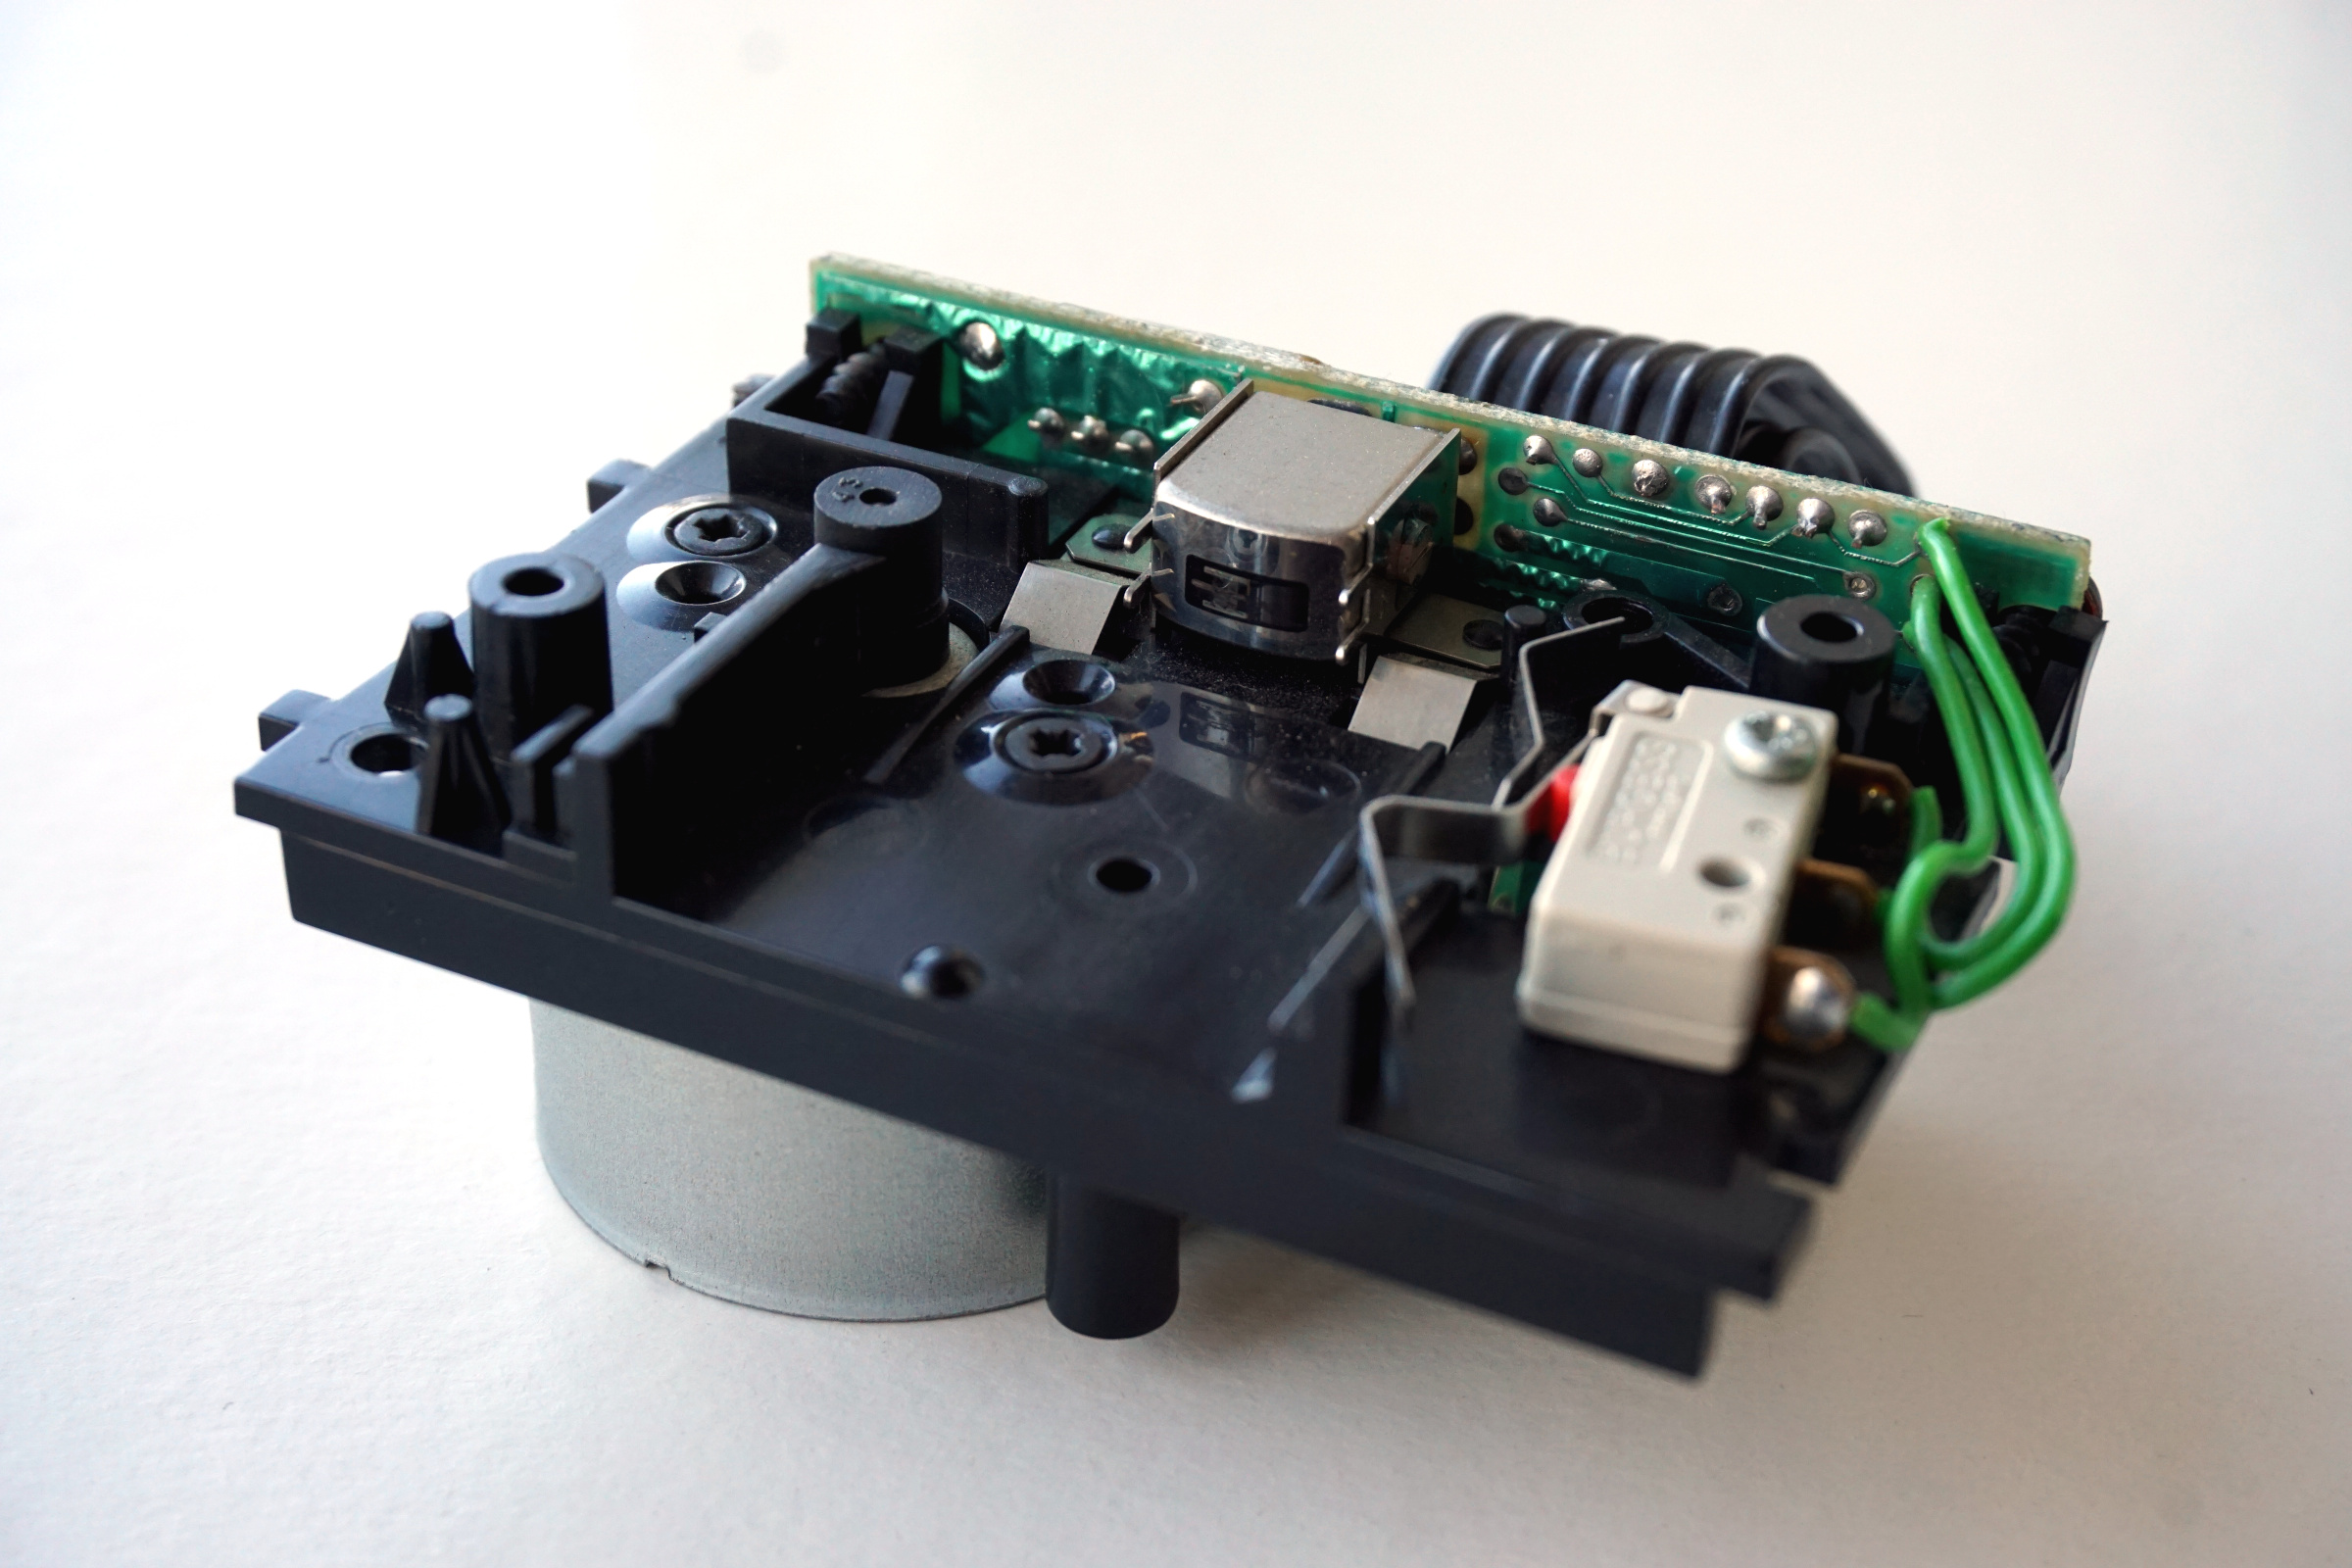
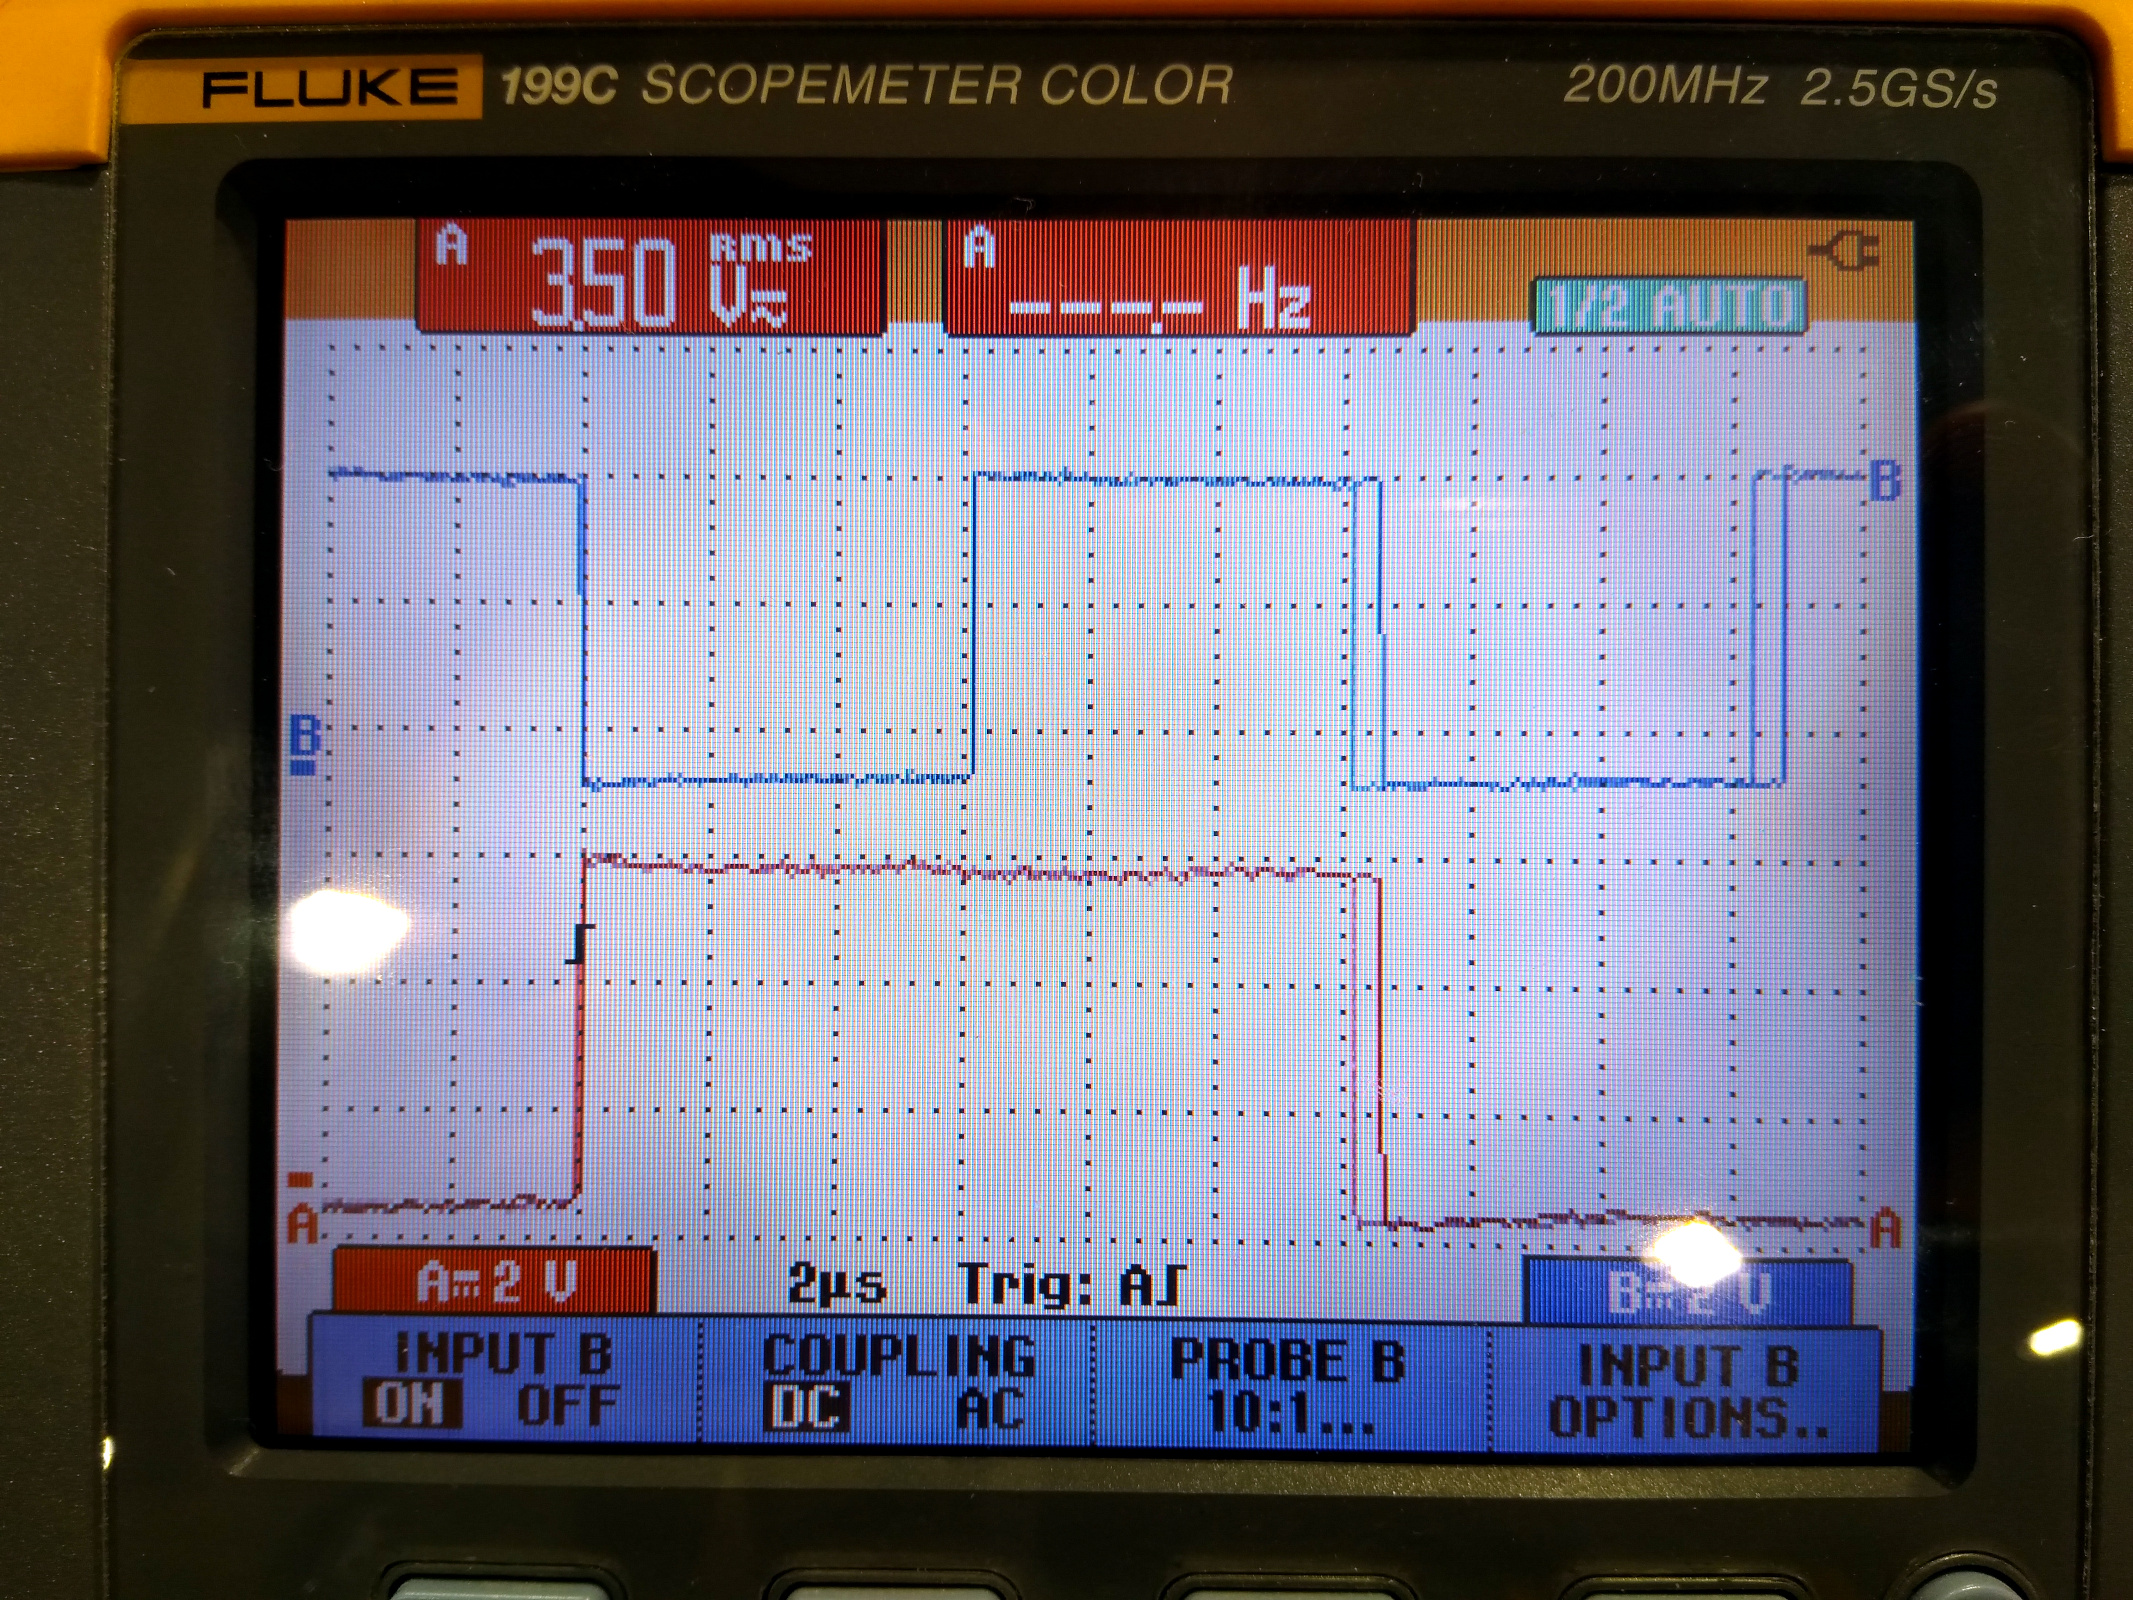
First I had to find out how the Microdrive records data, to estimate whether this could be pulled off with an Arduino Nano in the first place. There is a lot of information available, but of course it’s also fun to supplement this with a bit of research of your own. I started with the Spectrum, by looking at the signals of the Microdrive port on the Interface 1 while formatting a cartridge. Data is written on two tracks, with above mentioned stereo cassette tape head. Bytes are alternating between the two tracks, with an offset of four bits against each other. One bit is 12µs long. A 0 is signaled by no level change during the duration of the bit (approx. 41kHz), and a 1 by a level change at 6µs from start of bit (approx. 83kHz).
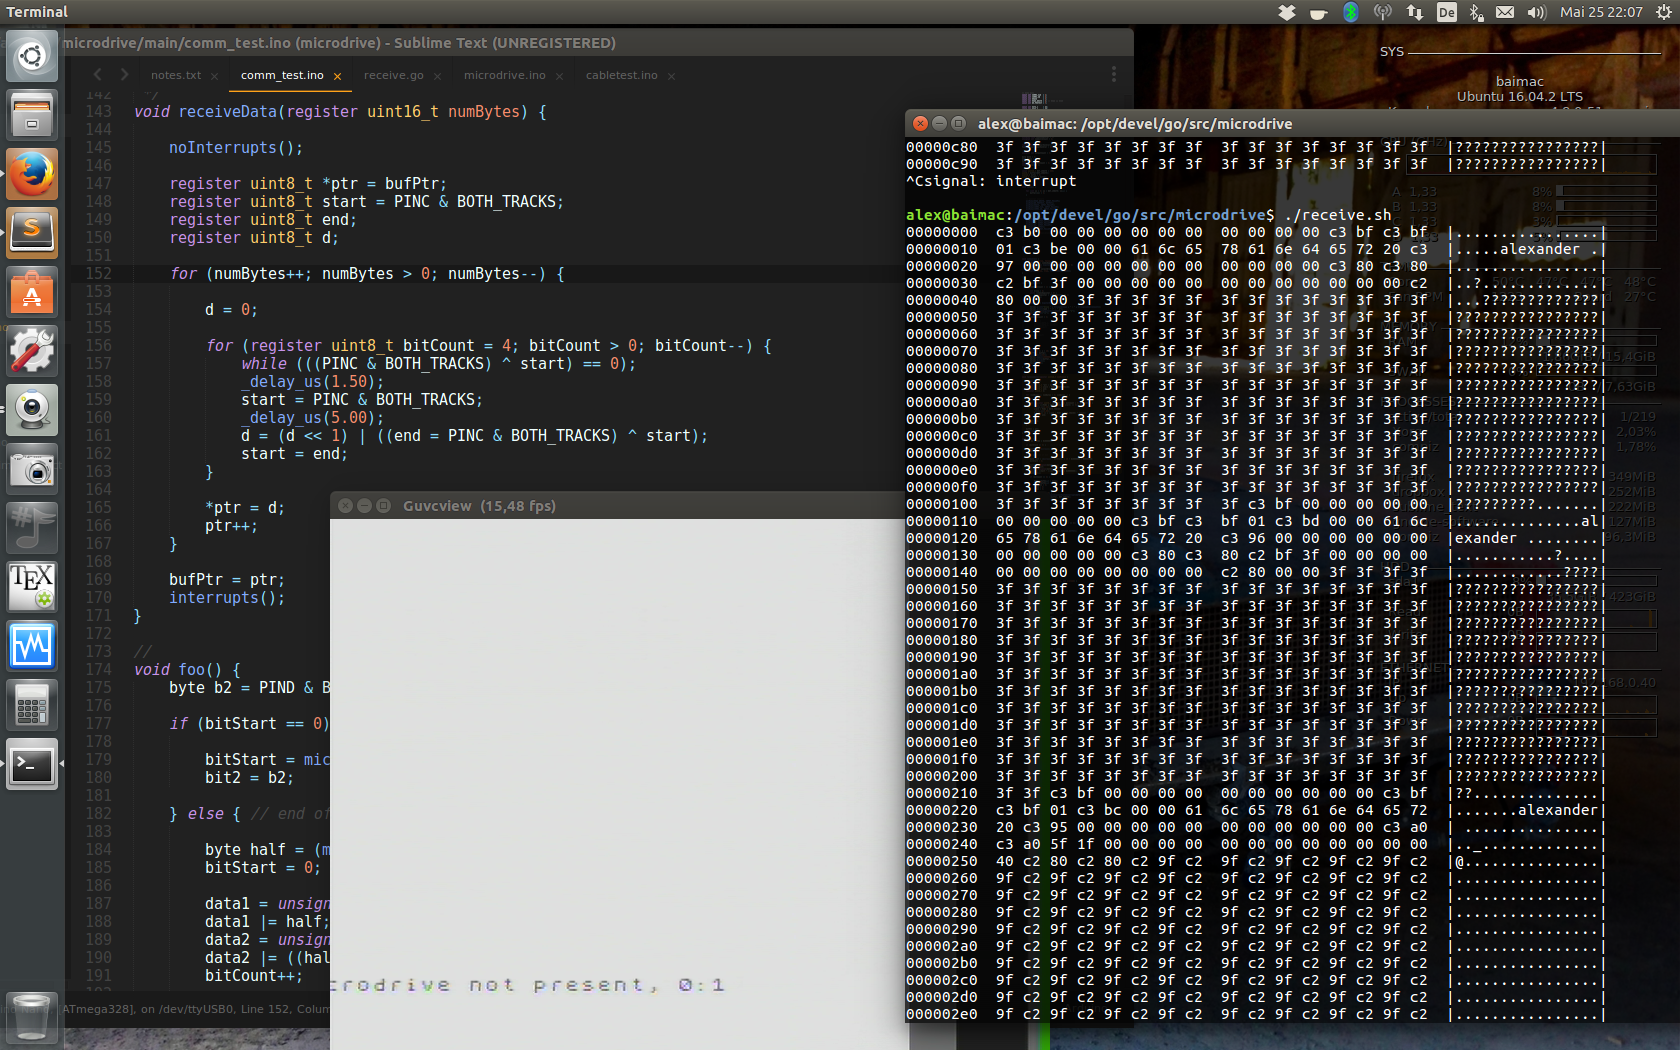
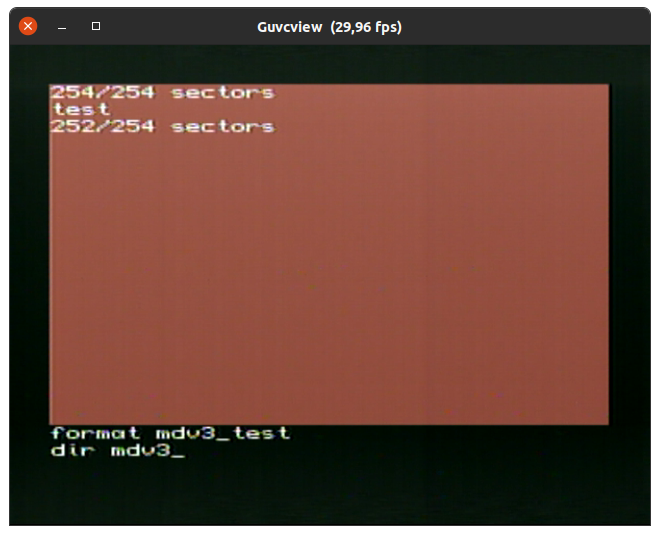
Next up was the logical format, for which the Spectrum Microdrive Book by Ian Logan was particularly helpful. A cartridge is organized in up to 254 sectors. Each sector consists of a 27 byte header and a 540 byte data record, separated by short gaps (3.75ms after a header, 7.0ms after a record). This was also the greatest challenge: The RAM of the Arduino Nano (2KB) is far too small to hold a complete cartridge (144KB). So data has to be continuously passed back and forth between Nano and daemon. At a bit rate of 1Mb/s over the serial connection that should at least theoretically be possible. Luckily, my first trials showed that the connection remains stable at this speed. After a few more experiments the big moment had come - for the first time I could correctly receive all sectors while formatting a cartridge.
Prototypes
The first success in communicating with the Microdrive interface was followed by a long phase of prototyping, both for hardware as well as firmware for the Arduino Nano and the daemon software. Over many iterations and refactorings, a first version of the emulator gradually evolved, which supported all the features of the original Microdrive, but for the time being only for the Spectrum.
QL Support
After the prototyping phase, I suspended work on the project for quite some time, due to changed priorities. In early 2021 though, two discussions over at World of Spectrum sparked my interest again. I resumed work on the project and started to get it into shape for publication. The biggest still missing part was support for the Sinclair QL. My goal was to avoid creating a separate variant of the emulator. That is, the same adapter should work with both Spectrum and QL, ideally with auto detect.
This meant back to research & experimentation, since it became quickly evident that after all there are quite a few differences between Spectrum and QL Microdrives: Starting with a higher data rate (50/100kHz), swapped tracks and shorter gaps after headers and records, over a changed logical structure, all the way to a completely different format procedure, there were many surprises. OqtaDrive’s architecture proved helpful in tackling all of this. Many of the necessary changes could be addressed in the daemon, which in terms of software development was much easier to do. And finally, another big moment - first successful format with the QL.
Open Sourcing
Beginning of May 2021 support for the QL was complete and the adapter could automatically detect Spectrum and QL, as desired. After many refactorings the code base was also cleaned up enough to warrant publishing on GitHub (later moved to Codeberg). From the start it was important to me to make this project available under a free license, so anyone interested in this could build it.
By open sourcing, OqtaDrive could also win the first contributors. Tom Dalby designed several PCBs for various configurations along with models for 3D printing cases - from a standalone config with Raspberry Pi onboard to a minimal micro version. Stephan Preuß relentlessly tested many pre-releases, on Spectrum and QL, and found quite a few bugs. And not to forget all the discussions that sprang up over the collaboration, which were important for the direction of OqtaDrive. For example, initially I wasn’t really interested in a standalone config that could be controlled via a web UI. But due to Tom’s and Stephan’s suggestions and friendly nudging, this is today my favorite config.